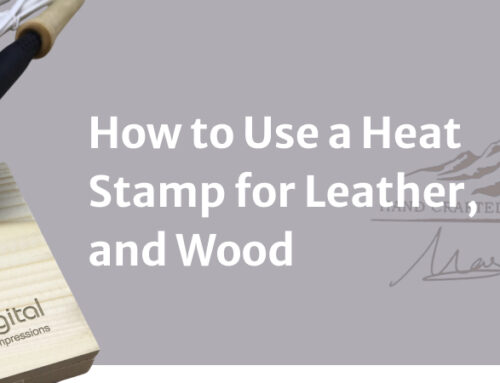
How Manual Heat Stamps Elevate Leather and Woodworking Projects
In the world of craftsmanship, every detail counts. Whether you’re a seasoned artisan or a hobbyist, how you finish your leather or woodworking project can dramatically influence its final appeal. One of the most powerful tools for adding a professional, personalized touch is the manual heat stamp.
This tool doesn’t just burn a logo or design—it tells a story, builds a brand, and turns your handmade creation into a signature piece. Let’s explore how manual heat stamps can take your leather and woodworking projects to the next level.
What is a Manual Heat Stamp?
A manual heat stamp is a branding tool that uses heat and pressure to imprint designs onto surfaces like leather, wood, cork, and even some plastics. It typically consists of a metal stamp plate (often brass) with a custom logo or design and a heat source to warm the plate.
When pressed against a surface, the heat transfers the design into the material, leaving a lasting mark.
Why Use Manual Heat Stamps for Leather and Wood?
1. Create a Signature Look
In handmade goods, branding is everything. A custom heat stamp lets you add a logo, initials, or unique pattern to your pieces—subtly but effectively reinforcing your brand identity.
-
Leather Wallet? Stamp your initials.
-
Wooden Coaster? Add a custom logo.
-
Handmade Furniture? Mark it with your maker’s mark.
It’s your personal signature—burned in, forever.
2. Enhance Product Value
People associate embossed or stamped goods with high quality and craftsmanship. That tiny branded mark can significantly increase perceived value, making your product look more professional and boutique.
3. Durability & Longevity
Unlike ink or paint, a heat-stamped design won’t fade, peel, or wash away. It becomes part of the material—perfect for heirloom pieces or items that will see daily use.
4. Versatility Across Materials
Manual heat stamps aren’t just for leather. They work beautifully on:
-
Hardwoods like oak, walnut, and maple
-
Softwoods like pine and cedar
-
Natural leather (vegetable-tanned is ideal)
-
Cork, rubber, and faux leather (with caution)
5. Affordable & Easy to Use
For small studios and independent makers, manual heat stamps are a cost-effective branding solution. No need for bulk runs or expensive engraving machines—just heat, press, and go.
Tips for Getting the Best Results
-
Use the Right Temperature: Leather and wood require different heat levels. Test on scrap material first to avoid burning.
-
Apply Even Pressure: Use a clamp or arbor press for consistent results, especially on hardwood.
-
Choose Quality Materials: Vegetable-tanned leather takes stamping better than chrome-tanned. Softer woods brand more easily than harder varieties.
-
Keep It Clean: Residue can build up on the stamp head—clean it regularly for crisp, clean impressions.
Customizing Your Stamp Design
The design you choose says a lot about your brand. Keep these tips in mind:
-
Simple is better: Thin lines may not transfer well.
-
Go bold: High-contrast, deep-cut designs give the best results.
-
Think long-term: A timeless logo or monogram will age gracefully with your products.
Final Thoughts
In the age of mass production, handmade goods stand out—but it’s the finishing touches that make them unforgettable. A manual heat stamp doesn’t just brand your product—it brands your identity, your craftsmanship, your story.


